How To Make Lash Fans
Creating volume fans is a form of artistry, it is a skill that takes plenty of practice and constant work. There are many different ways of producing lash fans to create different looks. This is a simple guide on how to make lash fans.
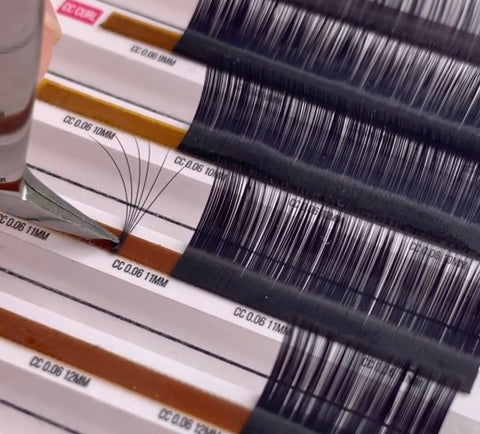
The perfect fan will have a symmetrical opening between each lash, a tapered base and are long enough adhesive zone so that when dipped into the adhesive, it does not run up and close the fan. How many lashes make up the fan determines the density of the fan.
It is important to consider the weight of the fan on the natural lash, for example a mega volume fan should be made using 0.03/0.04 diameter lashes, a 9D fan should be made using 0.05’s and a fan made from 0.07’s should be no more than 5D or it may be too heavy for the natural lash and could cause damage. Volumetrics should always be considered when making your fans as your clients lash health should always be your top priority.
The difference between a narrow and wide fan will determine the look of your set. A narrow fan will create a dense lash line and a uniform look, whilst a wide fan lends itself to being more fluffy. Consistency is key to creating a perfectly uniformed set, however mixing both types of fans can give a beautifully whipsy look.
The Wiggle technique is a very popular, usually best executed with a swan curve or a boot tweezer. Gently separating the amount of lashes you need in your fan away but not completely removing from the strip, carefully wiggle the lashes between your tweezers whilst adjusting the grip.
Once your perfect fan has been created pull off the strip, carefully dip into your adhesive and apply to the natural lash. The wiggle technique creates a stacked base which is best for attaching to the side of the natural lash.
Pinching your fans is a great way to create high density mega volume fans using 0.03/0.04’s. Remove the number of lashes you wish to be in your fan from the strip, using a swan angled curve tweezer. Most people use their fore finger and thumb, however some even use the knuckle of their fore finger to pinch the base of the fan whilst adjusting the grip of the tweezer to create a beautiful wide open fan. You will require a strong grip on your tweezers when you release the base of the fan and dip into your adhesive.
A pinched fan gives a stacked base, which you can manipulate into the perfect point to seamlessly wrap around the natural lash.
Pick up and place technique creates a flat based fan, ideal for attaching to the top of bottom of the natural lash. Separating the amount of lashes required, pull them off and place back down on the strip. Using the point of the tweezers roll the fan out on the tacky strip keeping the base intact but allowing the top of the lashes to open into a fan. Pick up with a reasonable grip and dip into your adhesive.
With this technique you can really focus on the symmetry between each lash and create beautifully consistent fans for that perfect set.
Base’s
A thin base fan can be attached anywhere onto the natural lash and can wrap around giving the perfect retention as well as optimising the health of the natural lash.

A flat base can only be placed on top or underneath of the natural lash, it will not melt around the natural lash as a thin base would. However, it has its advantages in creating a darker lash line.
A stacked base is usually created with the pinch technique and is generally best to attach to the side of the natural lash.
It is important your bases are as thin and neat as possible, a fan with a neat base will often lend itself to being perfectly symmetrical. As we all know, it is vital to check for stickies at the base of your fans. Ensuring everything is isolated and your clients lash health is not going to be affected.
This blog on 'How to make lash fans' was written by our very own LashBase Ambassador - Torie Burgess (@theislandlashco). If you have any other tips or suggestions on 'How to make lash fans' pop us a DM @lashbase_us.